By Alison Cupp Relyea, M.Ed.
Ages 5-7: Family project
Ages 8+: Independent project
Looking for an engaging, hands-on activity to do with your child that builds skills and encourages imaginary play? Building a geodesic dome from materials you have in your home is a fun and easy way to learn about math, science and even a bit of history. The final product can then become so many things, depending on your child’s interests and imagination. It can be a house for stuffed animals or action figures, a garage for cars and trucks, a decorative sculpture and much more.
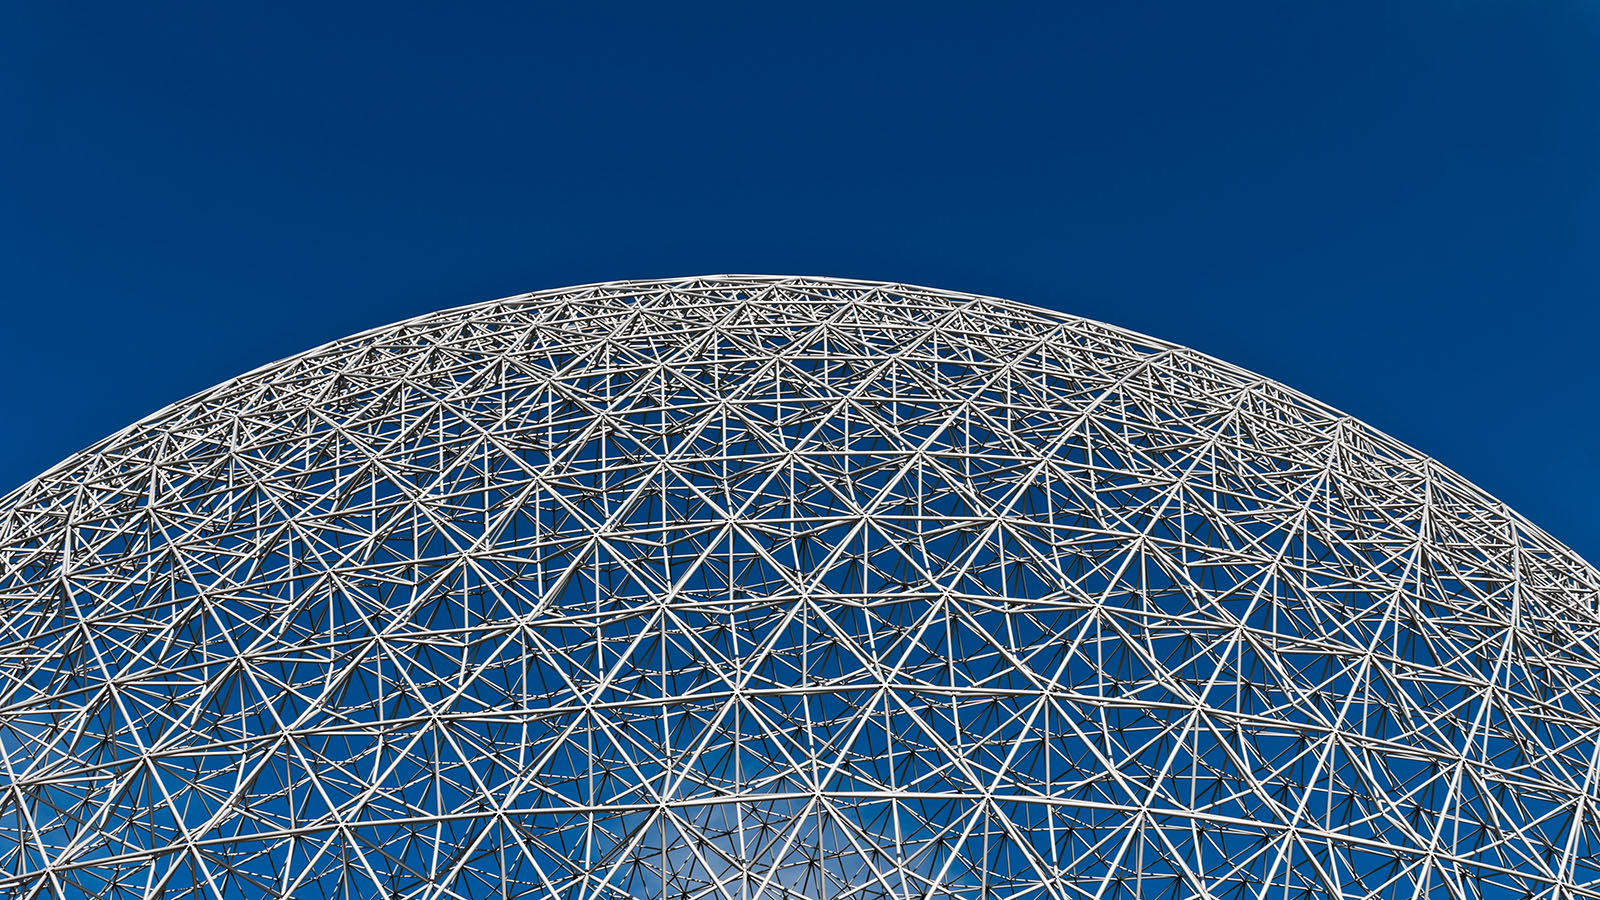
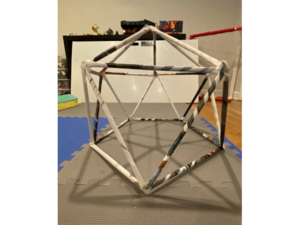
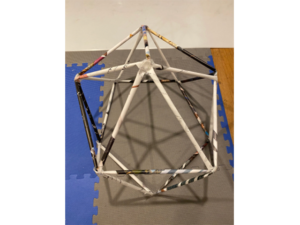
The geodesic dome has a long history in design and renewable energy. Originally the symbol of the 1964 World’s Fair in New York City and then Epcot Center, geodesic domes are now used all around the world to capture renewable energy. Some are used as houses heated with solar energy, others as naturally climate-controlled greenhouses. These domes are constructed from straight lines that form triangles. Many triangles then come together to form a sphere. In this activity, the dome your child builds is a sphere-like structure. It has no bottom and is supported by the triangles that form the base. Here are two views of the dome.

This activity involves the following skills:
- Fine motor practice
- Multi-step planning
- Counting to 25
- Making and identifying shapes
- Building structures
Spanish/English Vocabulary:
- triangle/el triangulo
- sphere/la esfera
- dome/la cupula
- green energy/energia verde
- recycle/reciclar
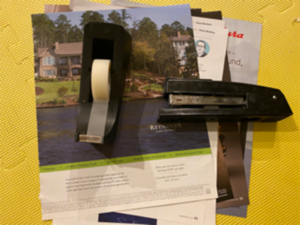
Materials:
- Newspaper, large magazine or catalog
- Tape
- Stapler
Length of time:
- 30 minutes to create
- Hours of decorating and play
Instructions
Step 1: Organizing materials
To get started, make a pile of 25 pieces of paper the same size. These can be sheets of newspaper or pages from a large magazine or catalog. Have your child tear the pages out carefully along the seam and count them one at a time. The dimensions of the pages do not matter as long as they are rectangular and all the same size.
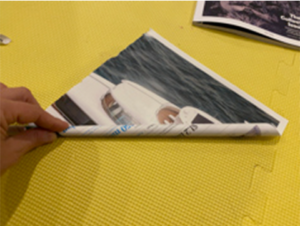
Step 2: Making the tubes
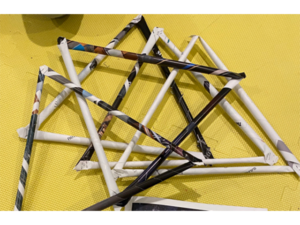
Take each piece of paper one at a time and roll it along the diagonal to create a tightly-rolled tubes. Starting in one corner, roll the paper into a long, thin tube and tape it at the end. Rolling on the diagonal will make the tubes as long as possible, and each one will look like a rolled-up poster. Children may need help with this to start, and parents can take turns demonstrating by rolling up the pole and having your child tape it. While the tubes should be very similar in length, they will vary slightly. Count the tubes again to make sure there are 25.
Step 3. Making the triangles for the base
Count out fifteen tubes to use for this step. Connect three tubes into a triangle. Overlap the tubes at the corners and staple them together. The triangle is an equilateral triangle with three sides of the same length. Repeat this step four more times until you have five triangles, all the same size.
Step 4: Attaching the base
Lay the five triangles out on the floor in a line, with one corner touching the next triangle. Staple each triangle to the next at the corners. While they are still flat on the floor, take four more tubes to connect the tops of the triangles to one another. Now there is an inverted triangle between each of the original five triangles. Attach a fifth tube to one end. This will attach to the other end on the next step.
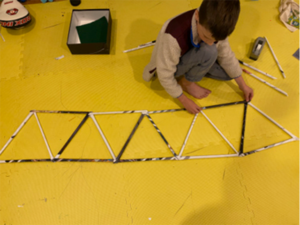
Step 5: Completing the base
Help your child to stand the chain of triangles up and rotate the triangles to form a circular base. The two triangles at either end now meet at the base of the structure. The one loose tube should now connect to the top of the triangle at the other end. Staple or tape these two connecting points, and the first layer of the dome stands on its own.
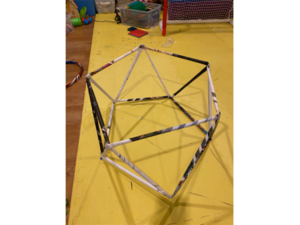
Step 6: Finishing the dome
The last five tubes attach to the vertices of the base triangles at one end and then to one another at the other end, forming the top of the dome. Again, use a stapler or tape to connect them. With some types of paper, it is helpful to staple first and then use tape to reinforce the corners.
Step 7: Use your imagination
Now that the basic dome structure is built, your child can be creative in how to finish it off. Additional flat pages from the newspaper or magazine can be cut and attached to form a roof on the dome. They can make drawings, collages or paintings and use those for the roof and walls, also. If you have any clear or translucent recycled plastic, such as fruit containers or plastic from packages, that can be cut and used as windows. Your child will likely have many ideas of where to take the project from here!
Lesson extensions
Science: Discuss how the properties of paper change throughout this project. How strong is one piece of paper when it is flat, in the beginning? How strong is it once it is rolled into a tube? What about when the 25 pieces come together to form a dome?
Math: Talk about the properties of a triangle and how they work together in the dome. How many sides and angles does a triangle have? How many triangles can your child count in the dome? What other shapes can they find?
Environmental Science: Why is it important to reuse materials instead of using new materials? What is the difference between recycling and reusing materials to make something new? How does this project help the environment?
History: Geodesic domes are used by scientists, designers and architects, and your children may recognize some of these famous historic domes!

Alison Cupp Relyea is a writer and educator with a MS.Ed in Museum Education: Childhood from Bank Street College. After teaching elementary school in New York City for ten years, Alison left the classroom to pursue freelance writing, focusing on education and history. In addition to writing personal essays and reported pieces, Alison plans education and adult programming for the Rye Historical Society. Her work has recently been published in “The Write Launch” as well as on ryehistory.org. Alison lives with her husband and three children in Rye, NY.